JupyterLab is an open-source web-based interactive development environment (IDE) built on top of the Jupyter Notebook. It provides a more flexible and powerful environment for working with notebooks, data, and code.
JupyterLab can run on your computer or be used as a cloud-based service. It can also be integrated with other tools, such as Git and GitHub, to support collaborative development and version control.
To use JupyterLab, you must have Python installed on your system. If you don’t already have it, you can download the latest version of Python from the official Python website (https://www.python.org/downloads).
Once Python is installed, use the command prompt to install JupyterLab. From the command prompt, enter “pip3 install jupyterlab”.
pip3 install jupyterlabThe command pip3 install jupyterlab installs the JupyterLab package, which is a graphical interface for Jupyter Notebooks. The installation will start and the output of the above command will look like this:
Collecting jupyterlab
Downloading jupyterlab-3.5.2-py3-none-any.whl (8.8 MB)
━━━━━━━━━━━━━━━━━━━━━━━━━━━━━━━━━━━━━━━━ 8.8/8.8 MB 13.3 MB/s eta 0:00:00
Collecting ipython
Downloading ipython-8.8.0-py3-none-any.whl (775 kB)
……
To start JupyterLab, open the command prompt and enter the command “jupyter lab” to launch JupyterLab.
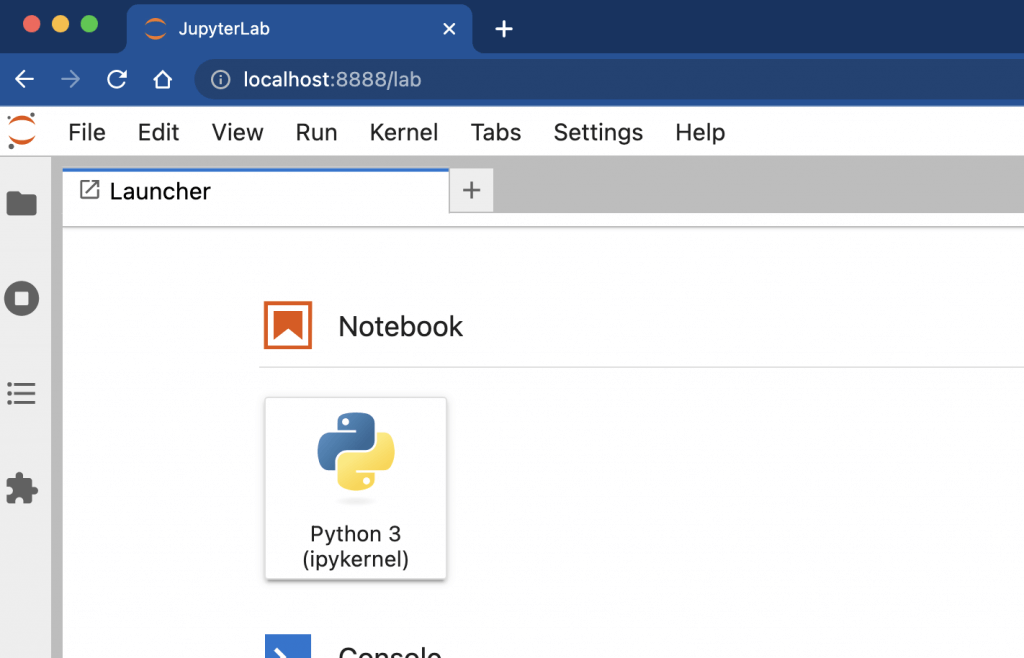
jupyter labTo run JupyterLab from the command line, type jupyter lab . This will start up a local web server and open your default browser with the JupyterLab interface. The command will open the Jupyter Lab in the browser with the following URL: http://localhost:8888/lab
Here is how it will look:

When you open JupyterLab, you can create a new notebook by clicking File | New and then selecting Notebook. In the new version of the notebook, you can write code and then run it by clicking on the “Run” button or by pressing Shift+Enter.
To customize JupyterLab, you can move or remove different components in the interface, such as the terminal, file browser, and more.
For classic Jypter Notebook installation, you can refer to the following blog: