- Go to EC2 dashboard.
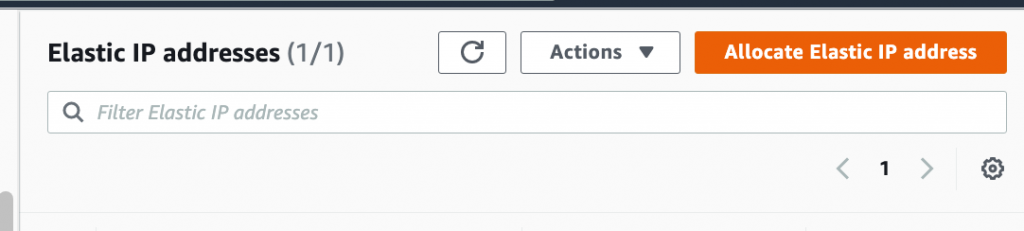
- In the left pane select Elastic IPs option under Network & Security menu.

- Click Allocate Elastic IP address button on the manage Elastic IP addresses page.
- Choose the availability zone, and click the Allocate button.
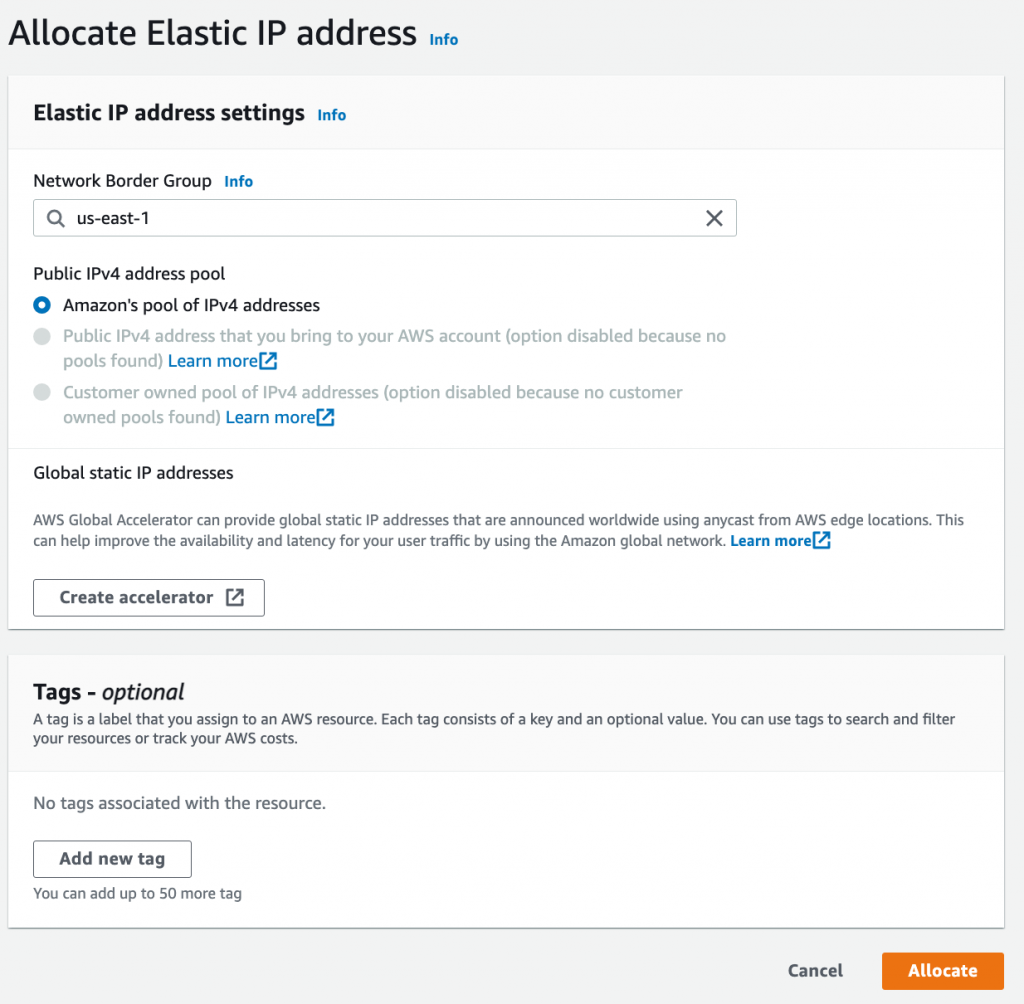
- You will see the Elastic IP address allocated successfully message on the next page.

- Click the Associate this Elastic IP address button to associate it with EC2 instance.
- On Associate Elastic IP address page choose the instance to which you want to associate the Elastic IP.
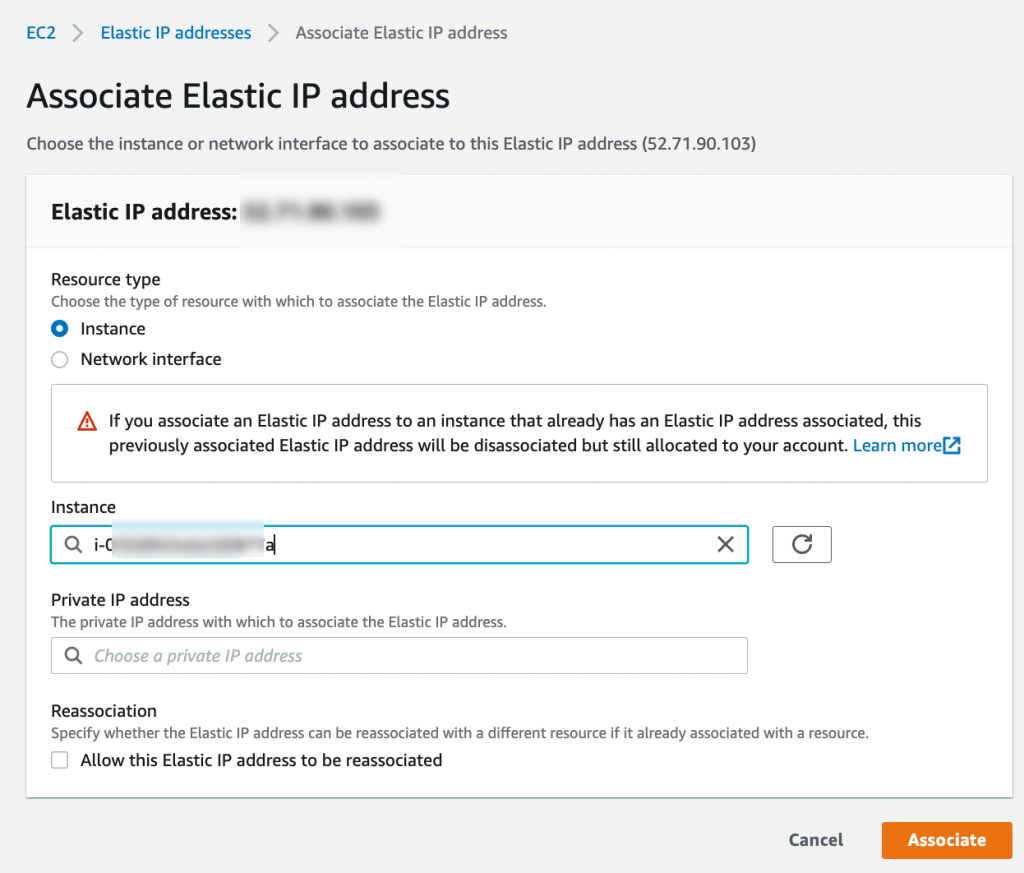
- You will see the following message on the next page:
Elastic IP address associated successfully.
Elastic IP address … has been associated with instance i-…..

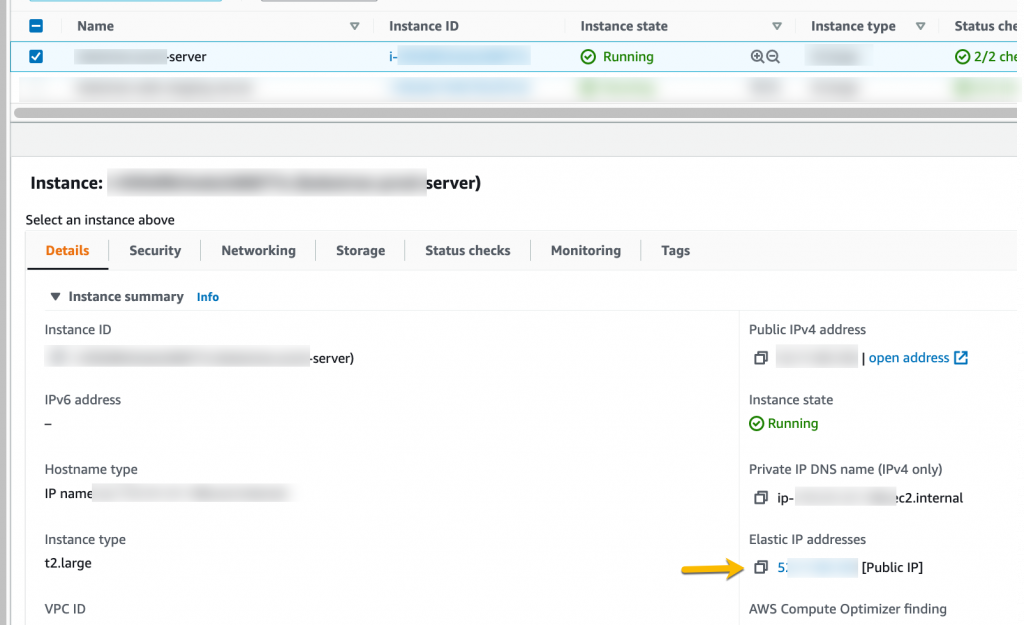
- Go to your EC2 instances and select the instance for which you associated the Elastic IP.
- You will notice the associated Elastic IP which we set in the earlier step.