To enable users to signup using a Mailchimp form and subscribe to your mailing list, you can create a sign-up form in Mailchimp in a number of ways. The general stages to creating a sign-up form are as follows:
- Access your Mailchimp account by logging in, then go to the Lists page.
- Choose the list for which you want to construct a form.
- The Signup Forms tab can be selected.

- Select the form type you wish to create. Embedded forms, forms for your website, and landing pages are just a few of the form choices that Mailchimp provides. You can customize the form by adding fields, adjusting the layout, and changing the form’s design. You can also add custom fields to collect additional information from subscribers.
- Add fields, alter the form’s appearance, and change its settings to make it your own.
- You can produce the form’s code after you’re happy with how it looks.
Wherever you want the form to show on your website or landing page, add the code. - You may also create and alter the form using the Mailchimp form builder. The form can have more fields, designs, and features added. After you’ve finished modifying the form, you may generate the code and add it to your landing page or website.
The published form URL will be like this: https://us15.list-manage.com/contact-form?u=sdfsdfsdfsdfeer&form_id=sdfsdf
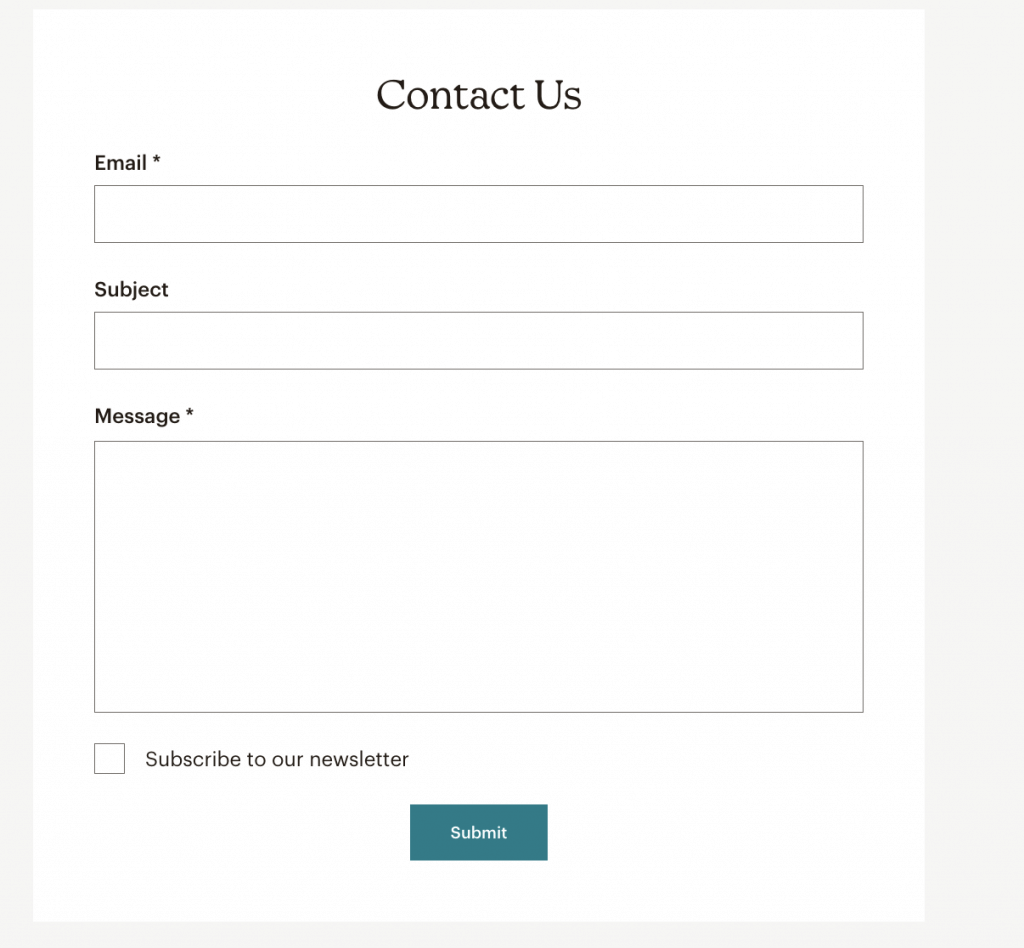
You can use that URL to display it you your website and it can look like this:

The form creation process also gives you an Embed code by following these steps:
- Once you’ve customized your form, embed it on your website by going to the “Embed” section of the form builder and choosing the code that corresponds to your website platform.
- Copy and paste the code into your website or landing page where you want the form to appear. The form will now be live on your site, ready for people to sign up.
After adding the user from there, your users will be able signup using a Mailchimp form to add which further will add that user to your audience.