Changing the Apple ID associated with your Xcode account is easy. Follow the steps to change/update Apple ID in XCode on your mac’s machine.
First, open Xcode and go to the Xcode menu in the top left corner of the screen. Then click on Preferences
Next, click on the Accounts tab. Follow the below screenshot for the same:

Click on the + button at the bottom left corner of the window
Choose Apple Id on the next screen:
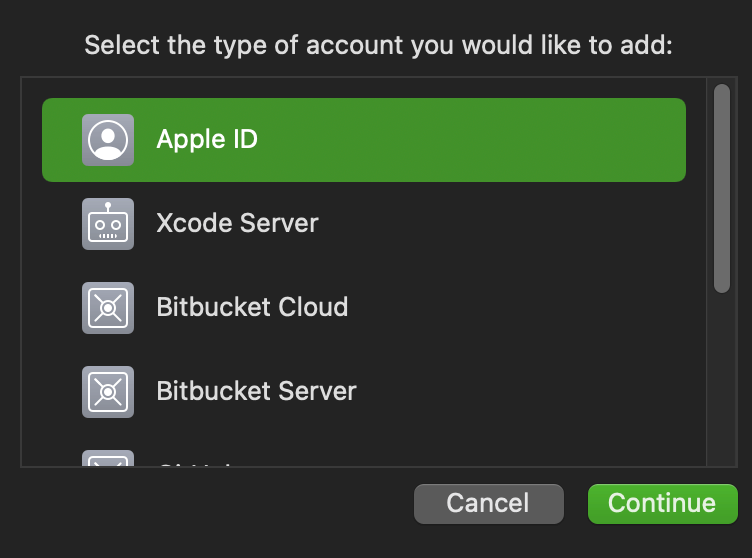
select Add Apple ID. Enter your new Apple ID and password and click Sign In!
You’ll be prompted to enter a verification code if your account is set up for two-factor authentication–just follow those instructions and you’ll be good to go.
Once you’re signed in with your new Apple ID, you can delete the old one from your account list by clicking on the – button at the bottom left corner of this window. Remember that in order to sign in with your new Apple ID, though, you will have to repeat creating a new development certificate and provisioning profile for your app.