
- Go to EC2 Dashboard home.
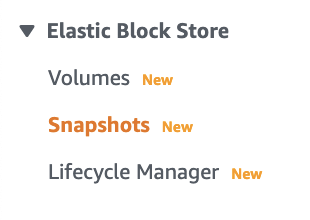
- Click on Lifecycle Manager in Elastic Block Store menu:
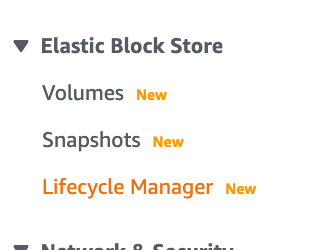
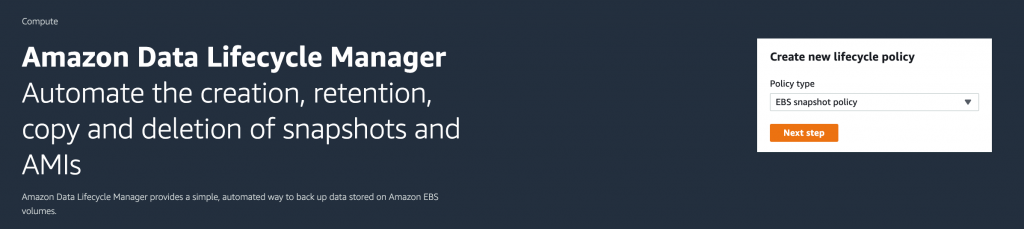
Select EBS snapshot policy as Policy type in Create new lifecycle policy section.
Click Next Step button.
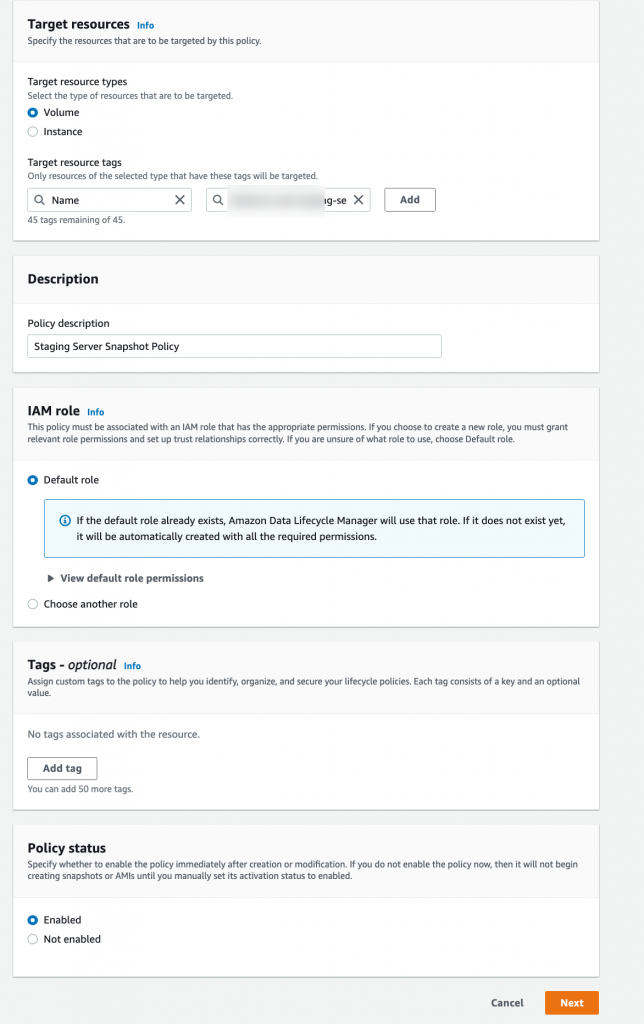
- On the next page, add the following settings:
- Target resource types: Volume
- Target resource tags > Name > Name of your instance
- Description: Staging Server Snapshot Polciy
- Iam Role > Default Role
- Polciy Status > Enabled
- On the next page, add the following schedule details:
- Schedule name: Staging Server Snapshot Schedule
- Frequency: Daily
- Every: 24 Hrs
- Starting at: 09:00 UTC
- Retention type > Count > 2
- Additional tags:
- Key: Snapshot Type
- Value: Automated
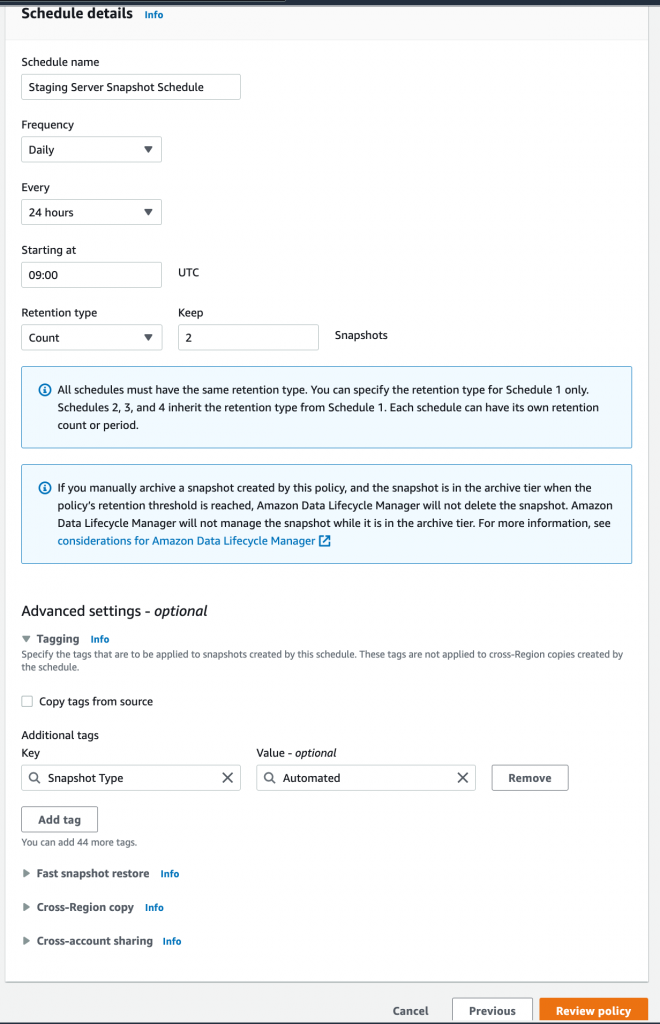
- Click Review Policy button to move towards the final step.
- Review page will look like this:
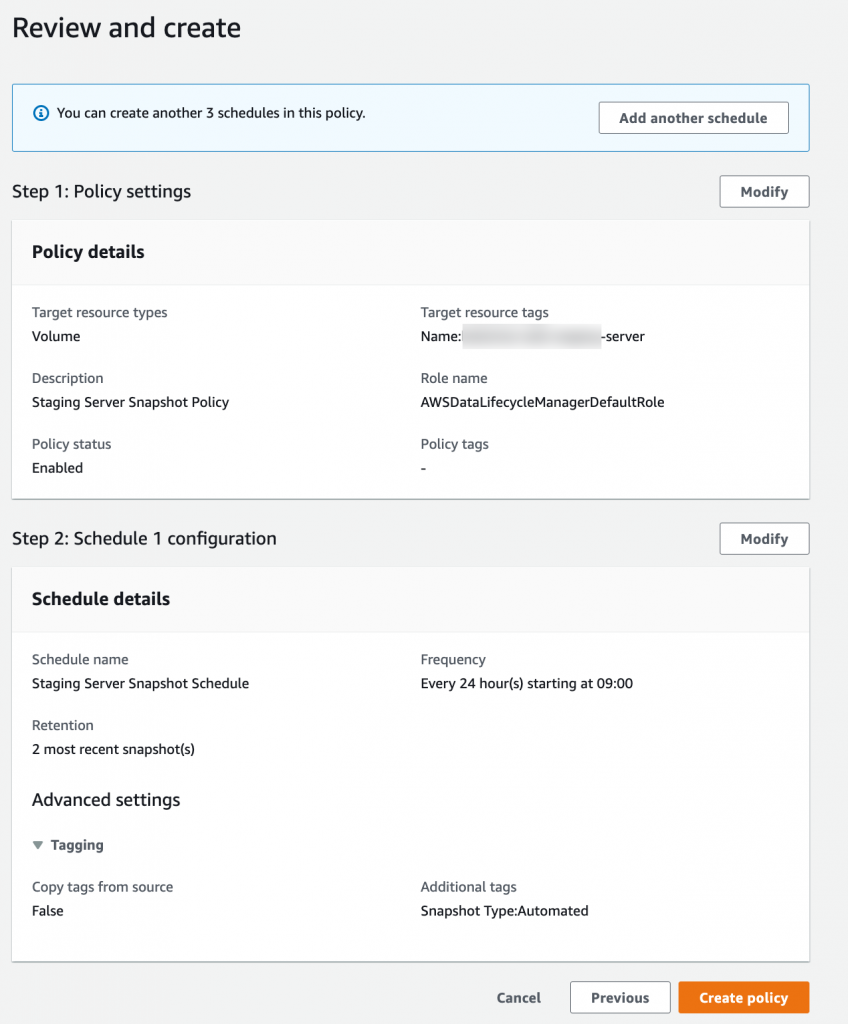
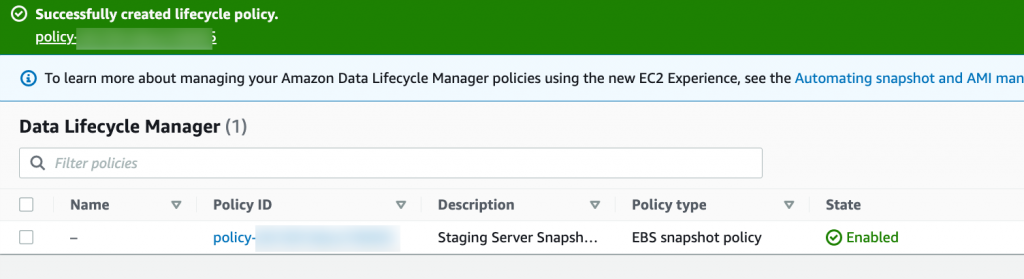
- Click Create policy button. The next page will show you the success message.
The snapshots can be accesed via EC2 Dashboard > ElasticBlock > Snapshots section.
The snapshots will be taken at the specified time which was set at the time of creation of the configuration in the above steps.