- Go to Azure Devops dashboard.
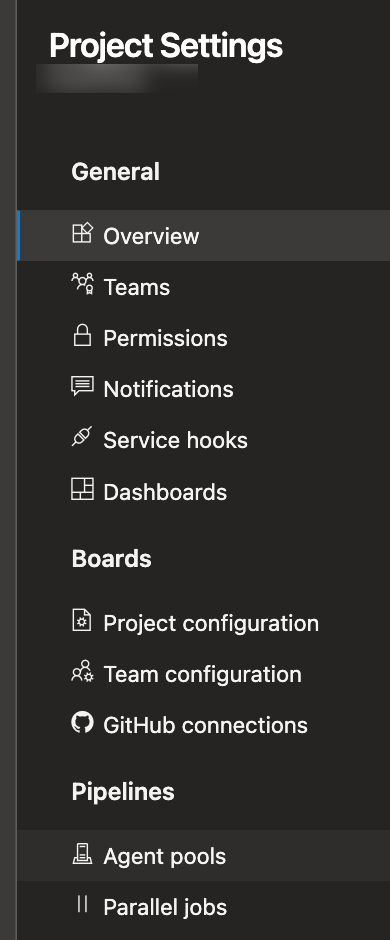
- Go to Project Settings.
- Go to Pipelines >> Agent pools.
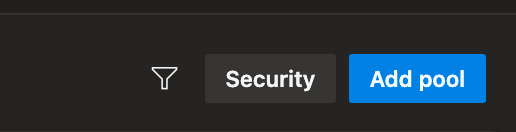
- Click Add pool button.
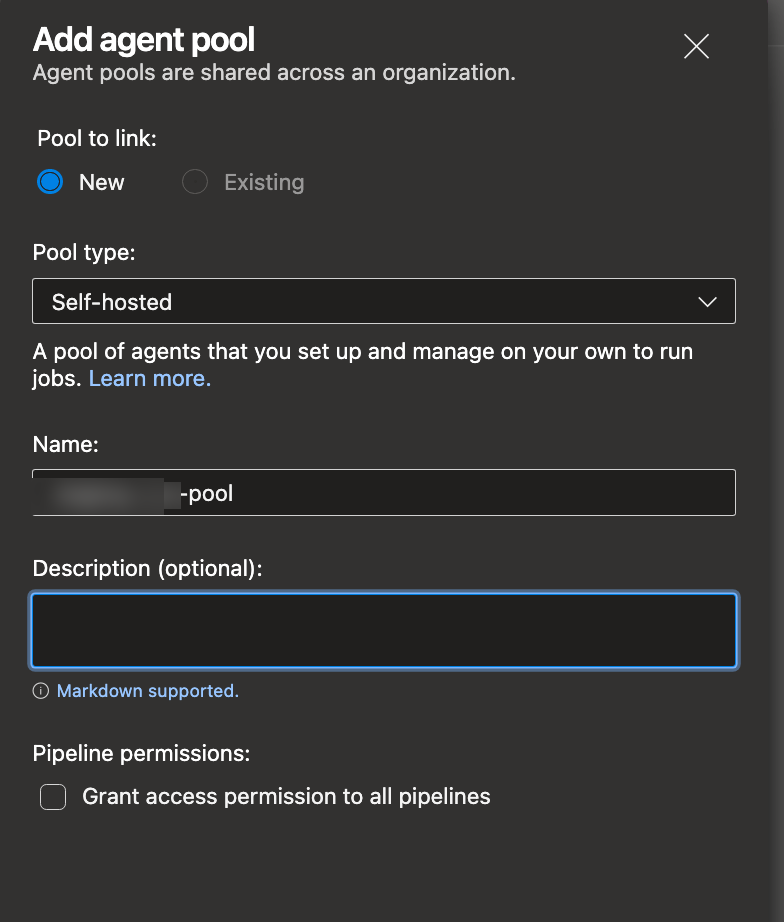
- In Add agent pool modal add the following details
- Pool to link: New
- Pool type: Self-hosted
- Name: <Your desired pool name>
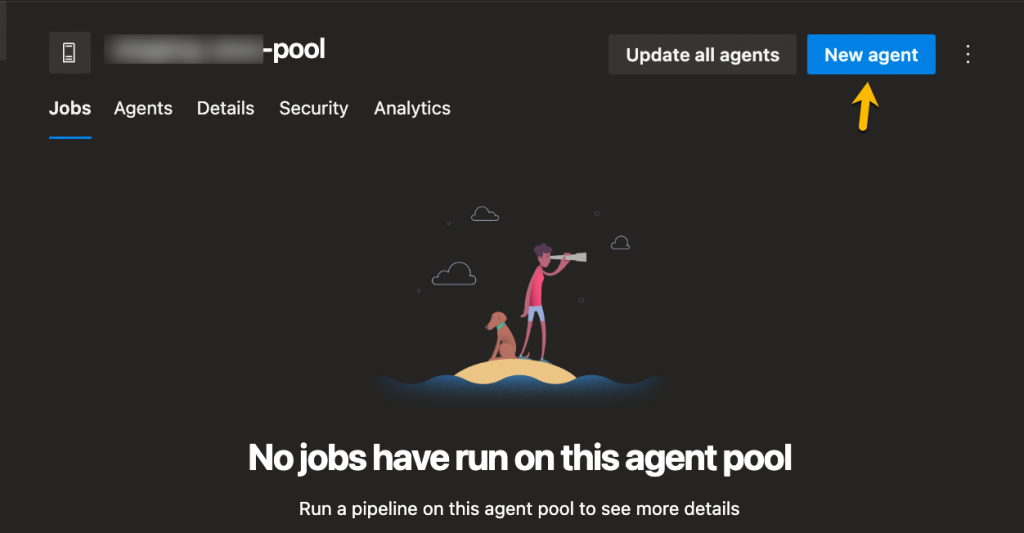
- Click the pool you just created to go to the pool detail page.
- Click New agent button.
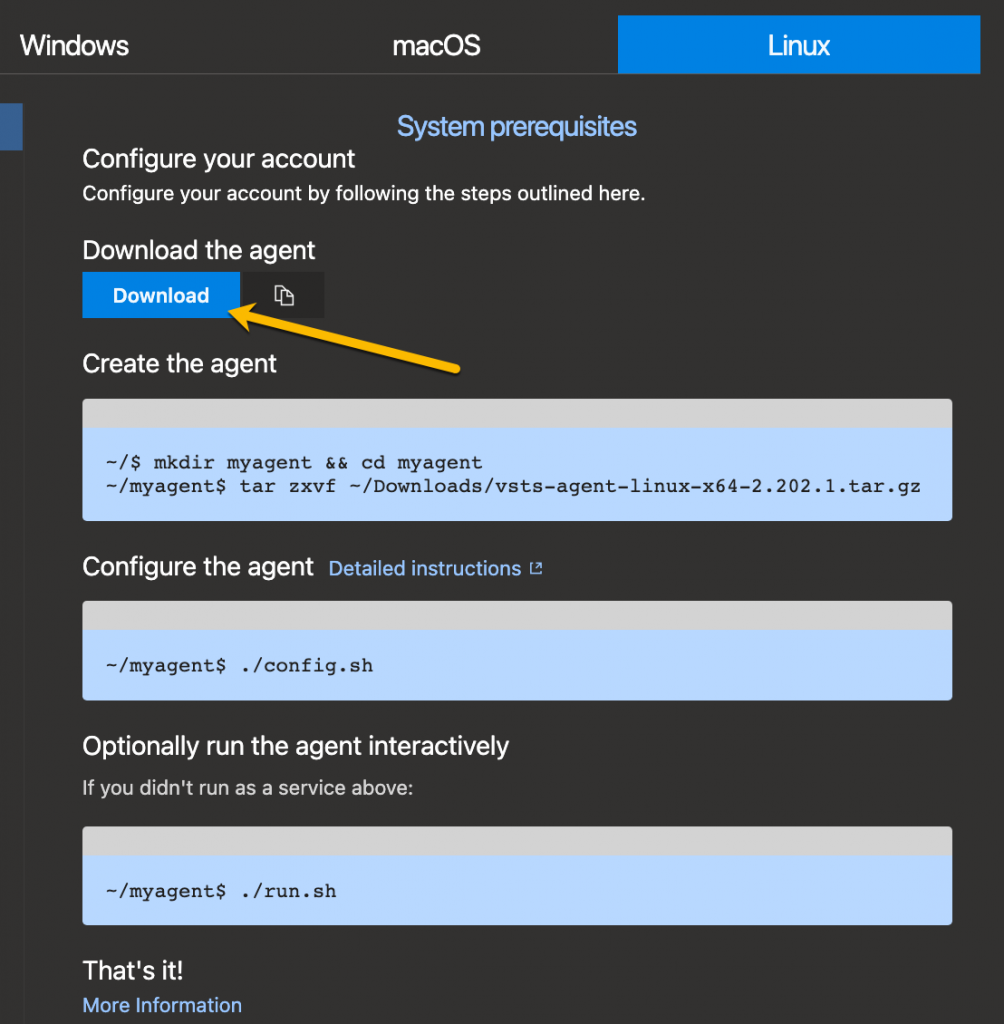
- In the Get the agent modal, click Linux tab.
- Click Download button top download the agent.
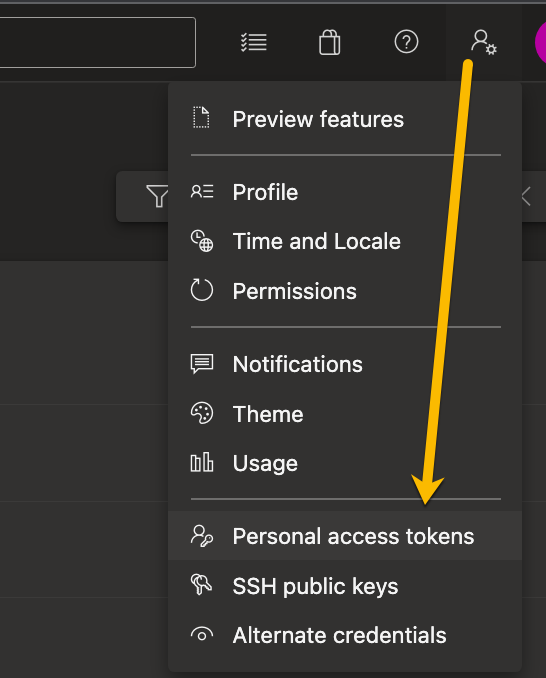
- Before moving ahead, we need to have the Personal access token from Azure Devops portal for your user.
Go to top header right hand side in Azure Devops dashboard, click settings icon:
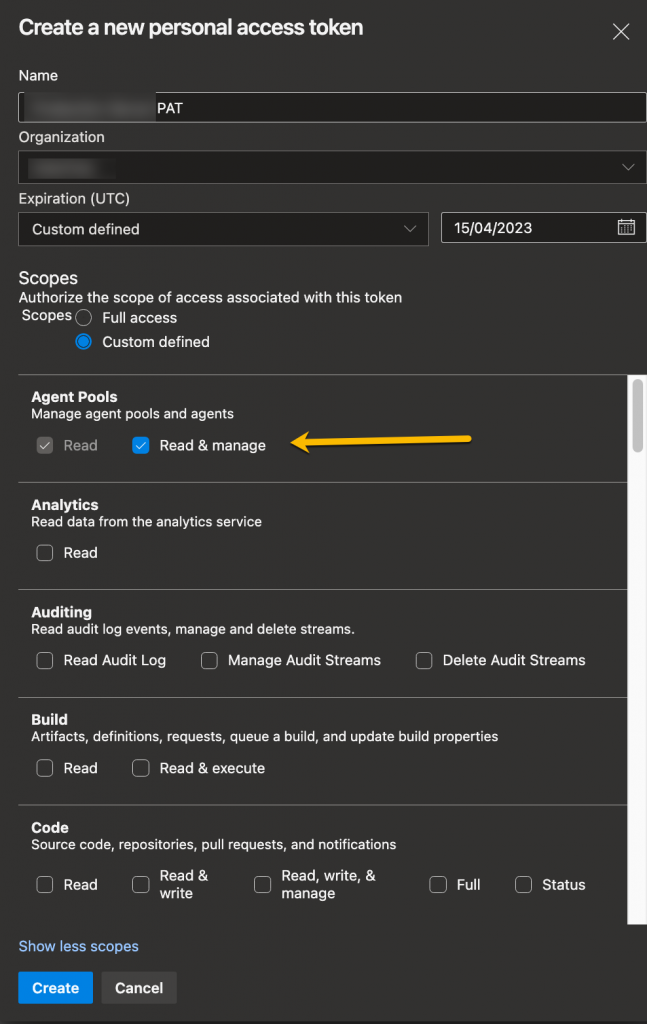
- In Create a new Personal access toke modal add the following details:
- Name: PAT for Azure Pipelines agent on Linux
- For the scope select Agent Pools (read, manage) and make sure all the other boxes are cleared.
- Select the expiration based on your needs.
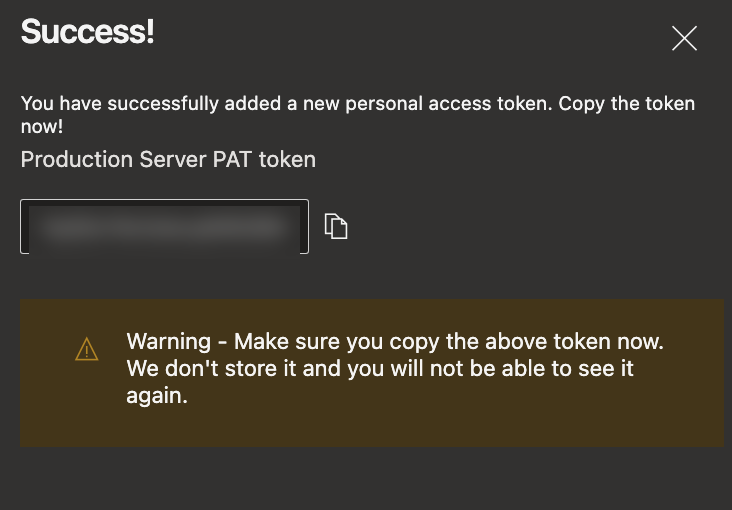
Make sure you copy token created and save it for future usage.
- From your local terminal run the following command:
scp -i /Users/<YourMachineUserName>/<YourSSHKeysLocationFolder>/<YourAWSServerKey>.pem /Users/<YourMachineUserName>/Downloads/vsts-agent-linux-x64-2.202.1.tar.gz ubuntu@ec2-<YourEC2PublicIPWithDashes>.compute-1.amazonaws.com:
The above command will copy the agent file from your machine to Ubuntu’s default home directory. The arguments in the abvove commands are:
- The private key of your EC2 instance which you must have got at the time of creation.
- Location of agent file. (What to copy).
- EC2 server address. (Where to copy).
You will see the percentage like this by running the above commacn confirming that the file is nbeing uploaded:
vsts-agent-linux-x64-2.202.1.tar.gz 25% 21MB 2.0MB/s 00:31 ETA
- Connect the EC2 instance from your local machine now with SSH by running the following command:
ssh -i /Users/<YourMachineUserName>/<YourSSHKeysLocationFolder>/<YourAWSServerKey>.pem ubuntu@<YourEC2PublicIPWithDashes>.compute-1.amazonaws.com
- Run the “ls” command to see the file has reached there:
ls

- Create the agent now by running these commands:
mkdir azure-agent && cd azure-agent
tar zxvf ~/vsts-agent-linux-x64-2.202.1.tar.gz
- Configure the agent by running this command:
./config.sh
You will see the following screen now:
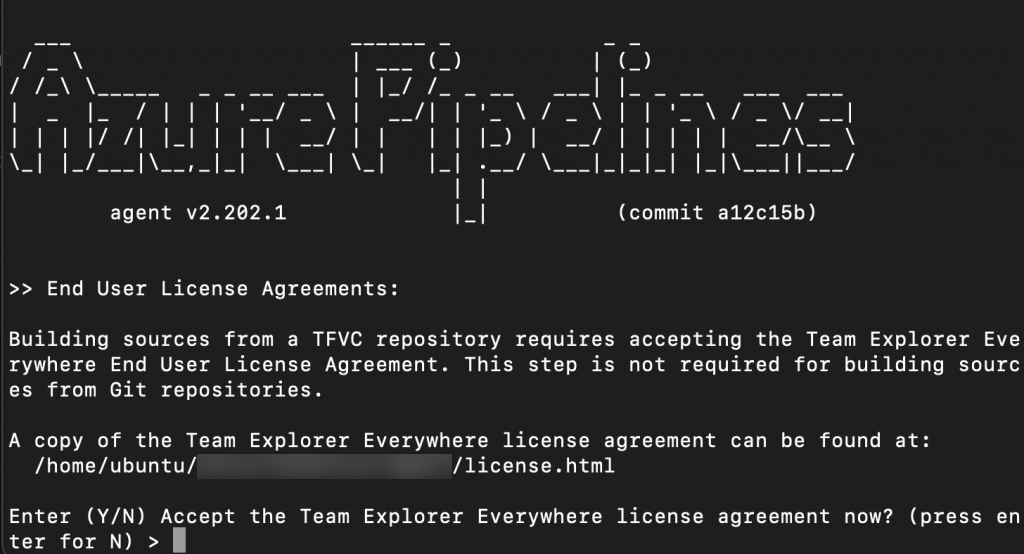
- Add the following values in the prompts:
- Press enter for first step
- Enter Server URL: https://dev.azure.com/<YouraccountName> (The root url of your account)
- Press enter for PAT
- Enter Personal Access Token:
- Choose PAT, and then paste the PAT token you created into the command prompt window: <YourPATCreatedInTheAboveSteps>
- Hit enter
- Enter agent pool name: <The name of the pool which you created in the first step>
- Enter agent name (press enter for ip-<YourUbuntuLocalIP>) > Hit Enter
Will give you the following message:
Scanning for tool capabilities.
Connecting to the server.
Successfully added the agent
Testing agent connection. - Enter work folder (press enter for _work) >Hit enter
Will give you the following message: Settings Saved.
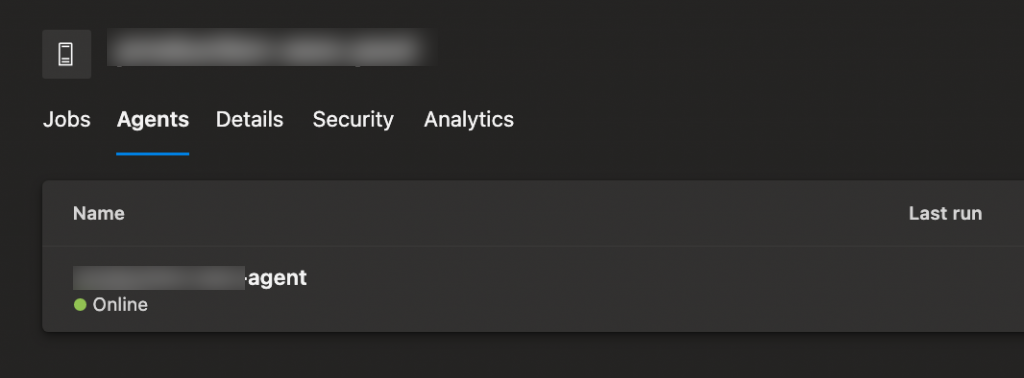
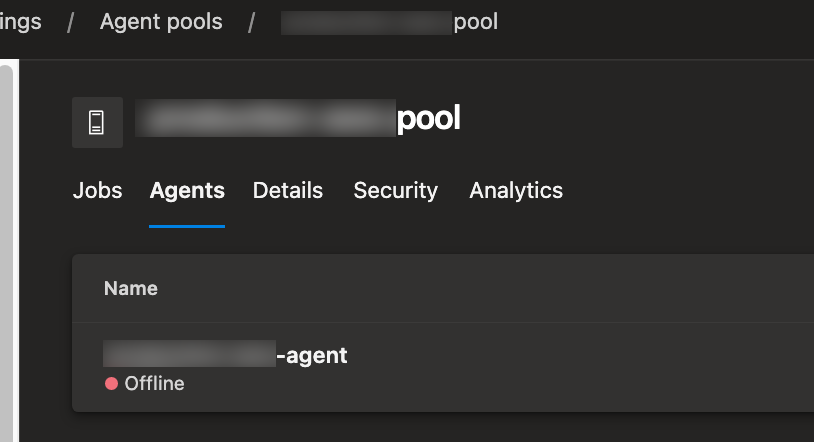
- The agent should start showing into the your agent on Azure Dashboard now, but in offline status
- Next step is to install the agent.
Run the following commands to install it as a service:
sudo ./svc.sh install
sudo ./svc.sh start
- You will see a green success message telling that the service has started:
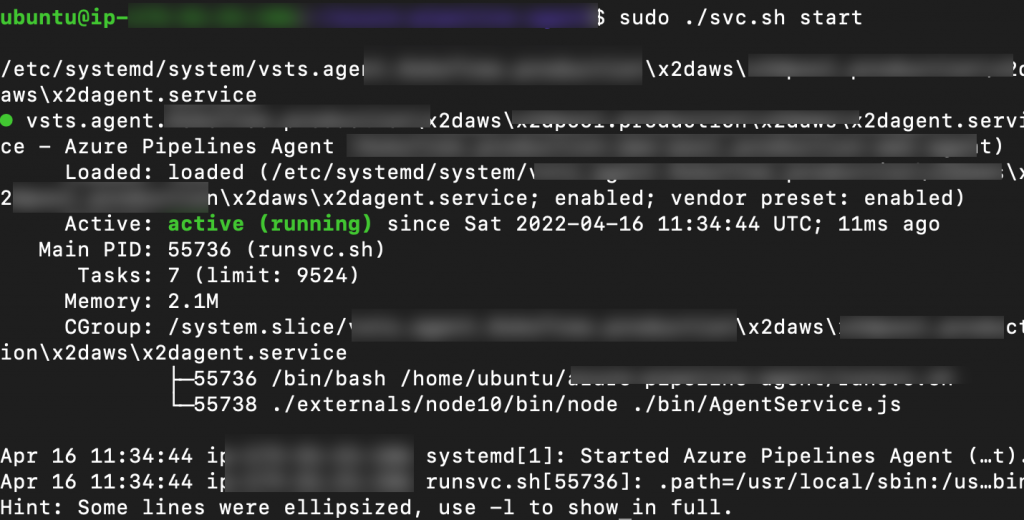
If you go back to Azure Dashboar, you will see the agent running now.